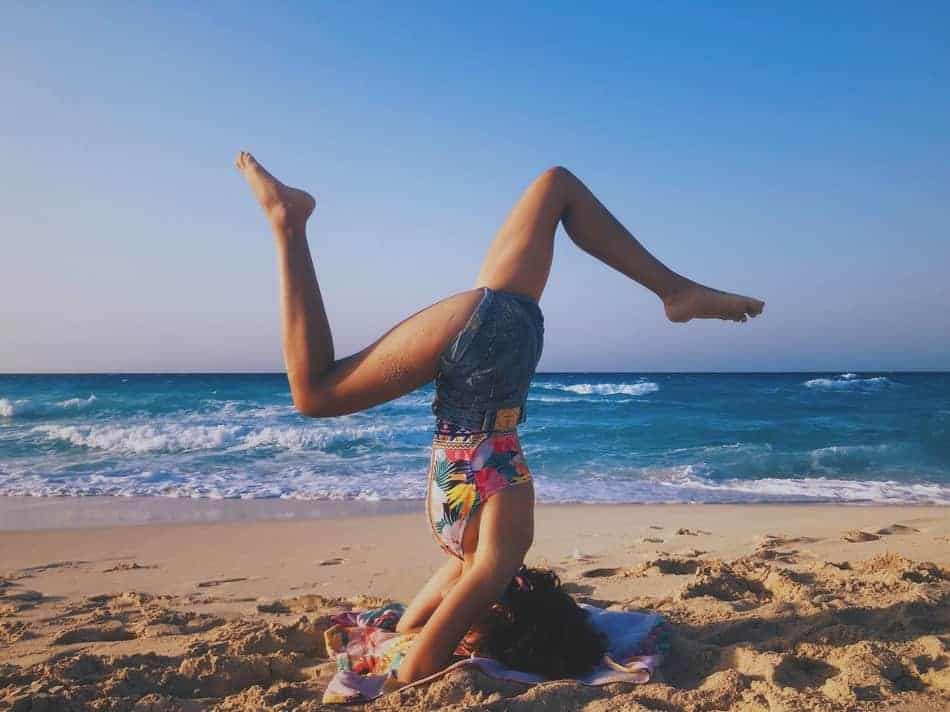
Anyone can do a headstand, as long as they practice. This exercise requires some shoulder strength, core stability, and balance.
For beginners, always use a wall or a spotter to help you calibrate, and get more comfortable with being in the inverted position.
The strength is not the hardest part. The balance is. Let me show you a simple routine that will help you work on your strength and balance at the same time.
First time when I saw someone doing a headstand I thought that this is the most difficult exercise. I was wrong. In this article, I will show you how easily you can do a headstand with little practice.
How can I practice headstands?
I did my first headstand immediately after one girl showed me how to do it. And of course, she had to hold my legs to make sure I won’t fell down.
So I’ve quickly noticed that it’s not about strength. It’s more about balance. And balance comes from flexibility.
Start from stretching
Being more flexible makes you more comfortable with your body. (I used to be stiff as a rock.)
I was doing heavy squats, deadlifts, and benching 225 for reps, 4-5 times a week. So I was more of a powerlifter, rather than a yogi.
Because I’ve never practiced yoga properly. I did some stretching. But it was nothing close to the actual full-body yoga session done on the regular basis.
Everything changed for me when I took a leap of faith and went to Rishikesh in India for my yoga teacher training course. It was 28 days long.
That’s when I noticed I’m not flexible at all. I was the stiffest in the group.
But within 3 weeks I was able to do a headstand on my own. No wall. No spotter.
So I can guarantee you that if I did that, you can do that even faster.
Always do warm-up
When I was a trainer onboard a cruise ship, I have always seen crew from the entertainment department coming to train.
This included dancers and acrobats.
One thing I’ve noticed is that they always seem to focus more time on the warm-up sequence versus the actual workout.
Let me ask you something.
What do dancers, acrobats, martial artists, and yogis have in common?
They all have “body knowledge”. They all know how to express themselves with their body.
It’s a somatic knowledge. They can tell immediately when the muscle is stiff, loose, or feeling shaky.
They are also flexible. And flexibility is the key.
When you are more flexible, you are in control. You are literally aware of your muscles in the body. And you got better balance. And the headstand is all about balance.
So the purpose of the warm-up is to get your body more flexible. This will give you additional control. So don’t skip this part ever.
Without a warm-up, it will be ten times harder.
Do sun salutation
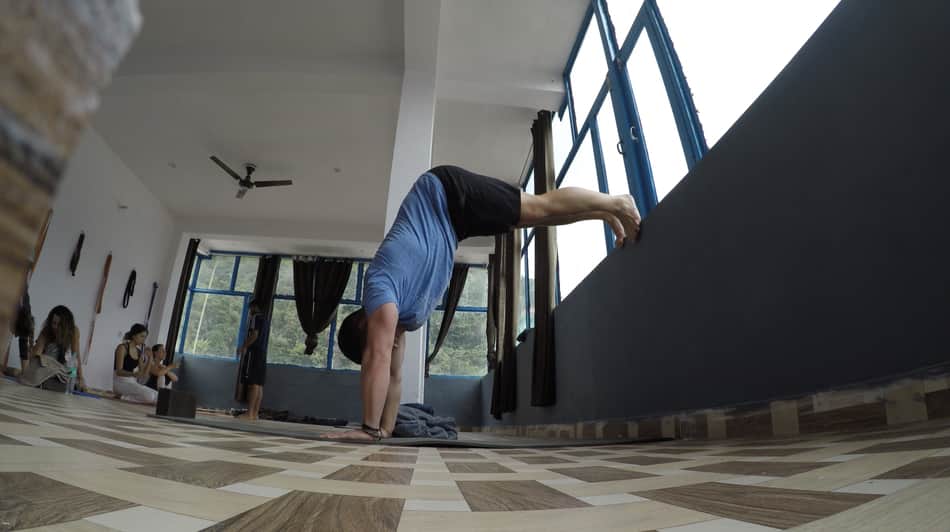
When doing sun salutation, try to spend at least 10 seconds in the downward-facing dog position.
It’s ok to bend the knees slightly. The hardest part for me is pushing my heels toward the floor. They don’t need to touch the floor, but you want to push and feel the stretch.
One of my biggest issues was sliding my hands on the mat.
That’s just like a never-ending problem. Especially during the warm-up.
As you move along, it’s getting easier.
So lately I’ve discovered that using liquid chalk on my hands during the sun salutation part only makes a HUGE difference.
In total, I like to spend at least 10 rounds. Going back and forth from upward facing dog into a downward-facing dog. It’s ok to take some rest to catch a breath.
Train your weakness
When I say workout I mean more stretch. Now, when you are warmed up you can move on to the more specific body parts.
This is also essential to feel comfortable in the headstand position.
You want to include stretches that will mobilize and lose the majority of your muscles. This will help you get more control, and not panic once you are sure in the inverted position.
Spend around 5-10 seconds on each stretch.
Some of the most common stretches I do.
Mobilize your hamstrings
To mobilize your hamstrings take a inhale, step to right, and place your right foot parallel to the edge of the mat.
Your feel should be 3ft apart. (Both legs stay straight.)
Your right foot is facing forward, your left foot is facing left (90 degrees).
Exhale, bend sideways and reach out to your right foot with your right arm. Twist, look up to the ceiling, and reach with your left hand up. Your hands should be in a straight line.
Stay there for 5-10 seconds and change sides.
Try harder poses
Try the reverse triangle pose.
Here you start the same way as with the triangle posture but instead of reaching down to your right foot with your right hand, you twist and you reach with your left hand.
Exhale, look up to the ceiling and reach out with your right hand.
Use more balancing positions
Balancing poses help you improve coordination.
Stand on one leg at a time. (You can bend your knee and hold it.)
The goal of this stretch is to make you feel more comfortable with less balance.
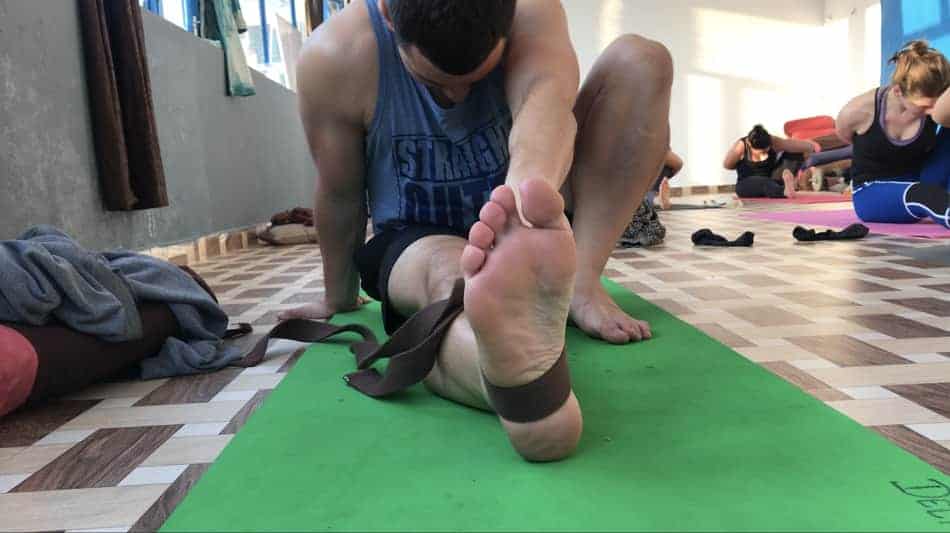
You can use a strap, and try to extend one leg at a time.
You can hold the knee close to your chest. You can also try to bring your knee to touch your forehead.
Spend some time on the floor
Those are the typical stretches you would do in the PA class. Focus on one leg per time.
One leg stay straight. One knee is bent.
You can rotate your leg so the foot is either behind you, creating 90 degree angle in your hips. Or you can place the leg parallel to each other with one knee straight and one bend.
Stay there for 5-10 seconds and change sides.
Add more hip opener stretches
My favorite hip opener stretch is squat. You simply stay in a squat position as low as possible.
Your feet are facing slightly outside. For best results, use your elbows to push your knees out.
A common fault is that people usually move their weight to the toes.
This will make the heel elevate. Don’t do that. Try to keep your whole feet on the floor.
Try doing more back-bending stretches
You can do some variations of glute bridges.
This is where you simply lay down flat on the floor on your back, and push your hips up.
If you have enough flexibility, and or strength you can try to do the full bridge.
This puts a lot of effort into your shoulders. It’s a great prep exercise before the headstand.
Some of those stretches may feel not related.
But it’s necessary to get more comfortable with the headstand. This is what will separate beginners from advanced people. How much time do they spend on the prep time?
It’s all about the practice
The more you spend time practicing full-body stretches, the faster you will get to do headstands.
That’s what I’ve noticed at the beginning.
My body wasn’t flexible at all. This means I was out of sync with my muscles.
It’s like when you do exercise, and you just don’t feel which muscle is working. Or when you have a meal, and you don’t know are you still hungry or not. You just can’t tell.
So stretching helped me to get this connection back in sync. And everything has changed once I’ve loosened up. And as soon as I worked on my flexibility first, it was a game-changer.
This one thing allowed me to balance my body, even in the inverted position.
Conclusion
It can take anywhere from 2-6 weeks, depending on your flexibility level. For some people who are not flexible enough it can take even up to 3-6 months.
I would recommend doing some stretches every day. Even if it’s just 20 minutes, over time it will add up and you will be more flexible faster.